
Connect to TracsConnect
Connecting Anthropic takes a few minutes. You create an access key in Anthropic Console, paste it into TracsConnect, and run a test.
Before you start
Section titled “Before you start”You should have:
- An Anthropic Console account
- Permission to create an access key for the shop
- Billing and usage limits reviewed in Anthropic
- A TracsConnect dashboard account that can manage integrations
Step 1: Create an access key in Anthropic Console
Section titled “Step 1: Create an access key in Anthropic Console”Sign in to Anthropic Console, open API Keys, and create a new key for TracsConnect.
Copy the key when Anthropic shows it. Treat it like a password — you will paste it into TracsConnect in the next step.
Step 2: Open Anthropic in TracsConnect
Section titled “Step 2: Open Anthropic in TracsConnect”Sign in to your dashboard, click Integrations in the sidebar, and find the Anthropic card.
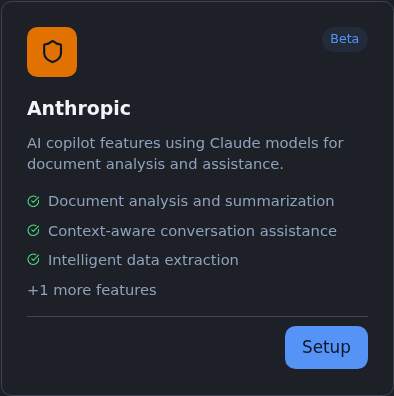
Click Setup. A setup window opens.
Step 3: Paste the key
Section titled “Step 3: Paste the key”Paste the key into the API Key field.
TracsConnect stores the value securely and masks it after saving. If you ever rotate the key in Anthropic, come back here and paste the replacement.
Step 4: Test the connection
Section titled “Step 4: Test the connection”Click Test connection. TracsConnect sends a minimal request to Anthropic to confirm the key works.
If you see a red error, jump to Troubleshoot.
Step 5: Save
Section titled “Step 5: Save”Click Save at the bottom of the setup window.
What happens next
Section titled “What happens next”Supported TracsConnect AI features can use Claude for the shops included in your rollout. Start with a limited workflow and have staff review the output before expanding to more users.