
Connect to TracsConnect
Autoflow setup has a credentials tab and an optional real-time notification tab.
Before you start
Section titled “Before you start”You should have:
- Autoflow administrator access
- Your Autoflow shop subdomain
- Your Autoflow API Key
- Your Autoflow API Password
- A TracsConnect dashboard account that can manage integrations
Step 1: Gather your Autoflow details
Section titled “Step 1: Gather your Autoflow details”Sign in to Autoflow as an administrator and gather the key, password, and shop subdomain for the shop you are connecting.
If your Autoflow address is yourshop.autotext.me, enter only yourshop in TracsConnect.
Step 2: Open Autoflow in TracsConnect
Section titled “Step 2: Open Autoflow in TracsConnect”Sign in to your dashboard, click Integrations in the sidebar, and find the Autoflow card.
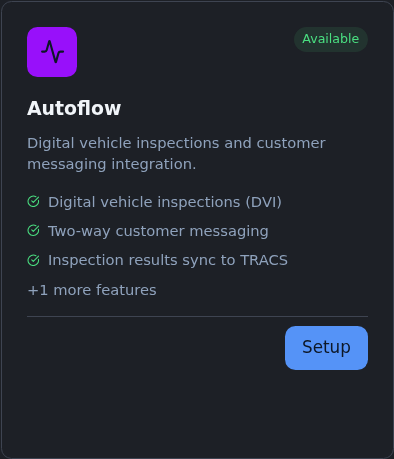
Click Setup. A setup window opens.
Step 3: Save the credentials
Section titled “Step 3: Save the credentials”On the Credentials tab, enter:
- Shop Subdomain
- API Key
- API Password
Click Save. TracsConnect stores the secret values securely and masks them after saving.
Step 4: Configure notifications if needed
Section titled “Step 4: Configure notifications if needed”Open the Webhooks tab only if your rollout includes real-time Autoflow notifications.
Copy the Webhook URL from TracsConnect and paste it into your Autoflow webhook configuration. Autoflow will generate a Security Key — copy that and paste it into the Security Key field in TracsConnect. Then choose the event types your shop wants to receive.
Step 5: Confirm activity
Section titled “Step 5: Confirm activity”After saving, open a supported repair order or inspection workflow and confirm the expected Autoflow report or conversation appears in TracsConnect.
If it does not, jump to Troubleshoot.
What happens next
Section titled “What happens next”TracsConnect can use Autoflow for supported inspection and conversation workflows. Keep the first rollout limited to a few repair orders until staff confirms the content lines up with TRACS.