
Google Cloud setup
This page is for TracsConnect operators. Shop users do not need to create a Google Cloud project; they only connect their Google account from the dashboard.
You should have:
- Access to the Google Cloud project that owns the TracsConnect OAuth client
- Permission to enable APIs and manage Google Auth Platform clients
- The deployed dashboard backend callback URL for the target environment
Step 1: Enable Google Calendar API
Section titled “Step 1: Enable Google Calendar API”Open the Google Cloud project for the environment and enable Google Calendar API from APIs & Services.
TracsConnect currently needs Calendar API access and the standard OpenID/userinfo identity scopes; it does not read Google Calendar changes back into TRACS.
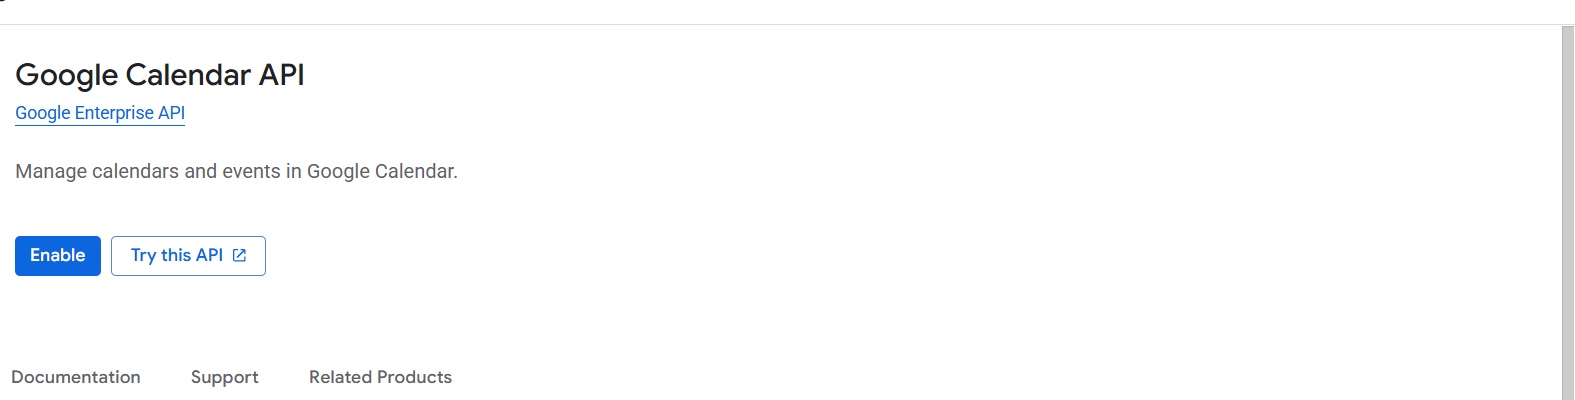
Reference: Configure OAuth for Google Calendar.
Step 2: Configure the OAuth consent app
Section titled “Step 2: Configure the OAuth consent app”In Google Auth Platform, configure the OAuth app name, support email, developer contact email, and publishing status for the environment.
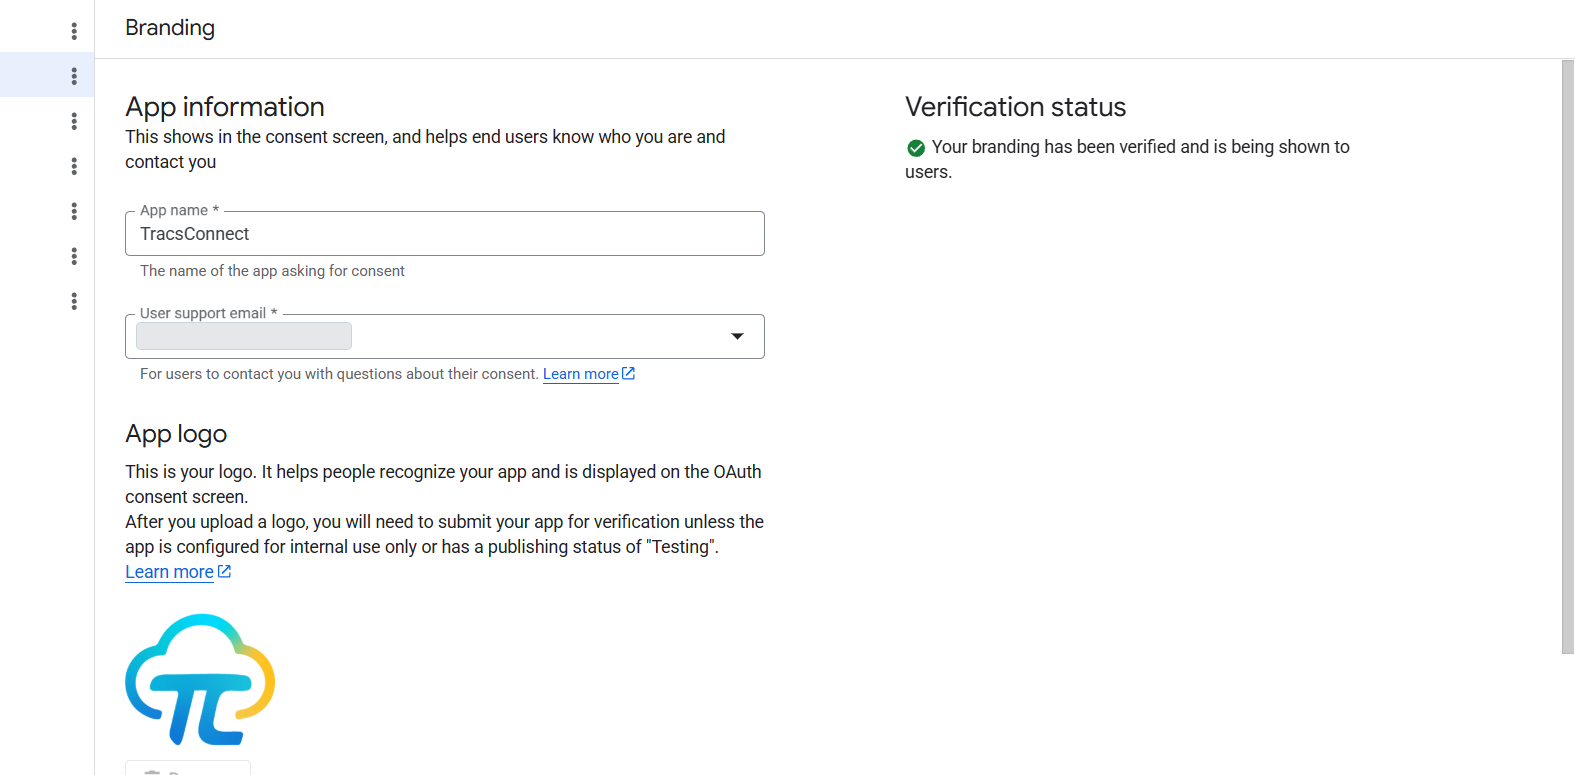
Add only the scopes TracsConnect requests:
https://www.googleapis.com/auth/calendar.eventshttps://www.googleapis.com/auth/calendar.calendarlist.readonlyhttps://www.googleapis.com/auth/userinfo.emailhttps://www.googleapis.com/auth/userinfo.profileopenid
Google classifies broad Calendar access as sensitive. Keep the scope set narrow and submit verification when the app needs to be used outside internal test users.
Step 3: Create a web application OAuth client
Section titled “Step 3: Create a web application OAuth client”Create an OAuth client with application type Web application.
Add the exact callback URI for the deployed dashboard backend:
https://<dashboard-backend-host>/api/v1/dashboard/google-calendar/callbackFor local development, use the local dashboard backend host and the same callback path.
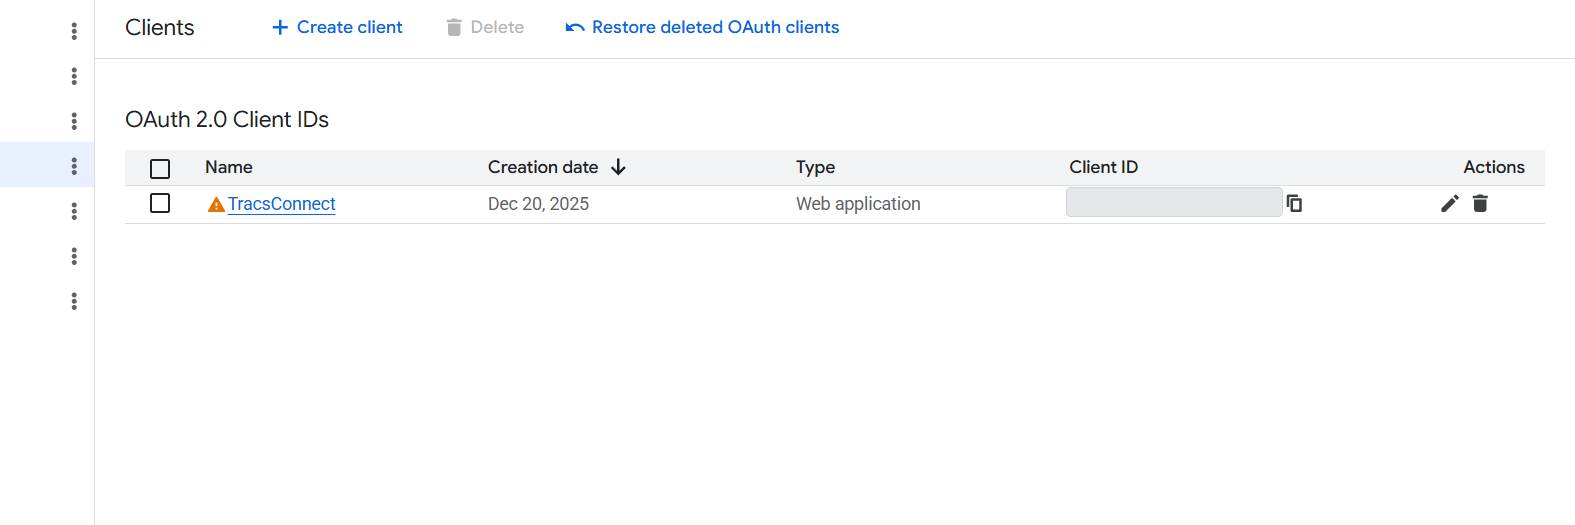
Reference: Using OAuth 2.0 for Web Server Applications.
Step 4: Set TracsConnect environment variables
Section titled “Step 4: Set TracsConnect environment variables”Copy the OAuth client values into the target backend environment:
GOOGLE_CALENDAR_CLIENT_ID=<client id from Google Cloud>GOOGLE_CALENDAR_CLIENT_SECRET=<client secret from Google Cloud>GOOGLE_CALENDAR_REDIRECT_URI=https://<dashboard-backend-host>/api/v1/dashboard/google-calendar/callbackThe redirect URI must match the Google Cloud OAuth client exactly, including scheme, host, path, and trailing slash behavior.
Step 5: Confirm Calendar scopes
Section titled “Step 5: Confirm Calendar scopes”Before enabling the dashboard rollout flag, compare the configured scope list against Google’s Calendar API scope guidance. The Data Access page is where Google shows the requested OAuth scopes and verification requirements.
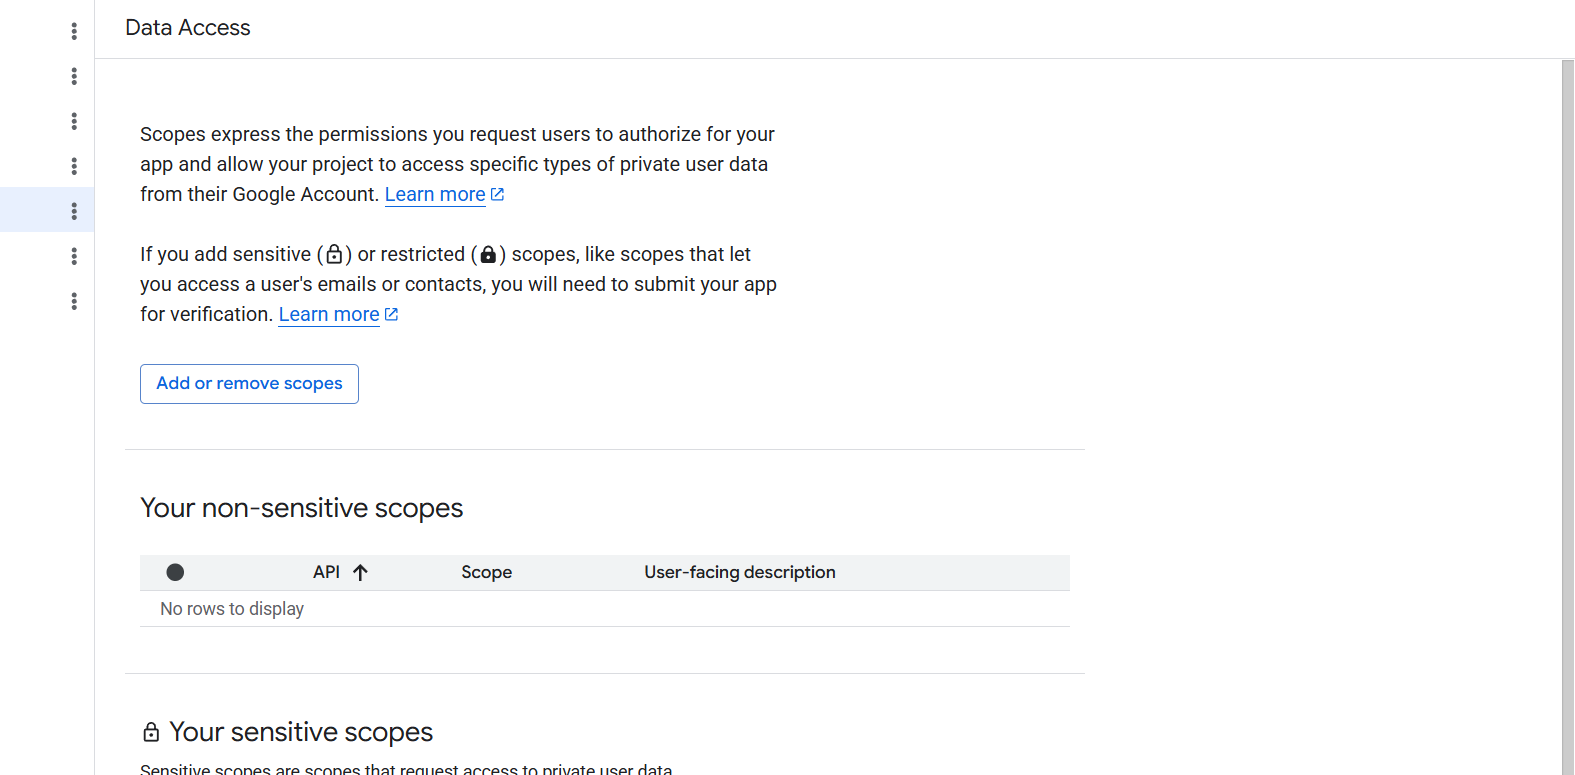
Reference: Choose Google Calendar API scopes.
Step 6: Smoke the TracsConnect flow
Section titled “Step 6: Smoke the TracsConnect flow”After deployment:
- Enable the
integrations.google_calendarfeature flag for one test shop. - Open Connections & Integrations in the dashboard.
- Open Google Calendar and click Connect.
- Complete Google consent with a test Google account.
- Choose a writable calendar, leave sync disabled, and click Test.
- Enable sync only after the connection test passes.
If Google returns redirect_uri_mismatch, update either the Google Cloud OAuth client or GOOGLE_CALENDAR_REDIRECT_URI so both values are identical.