
Connect to TracsConnect
Once your RingCentral app details are ready, the rest of the setup happens in your TracsConnect dashboard.
Before you start
Section titled “Before you start”You should have:
- A RingCentral account with a text-capable number
- A RingCentral app that uses JWT auth flow
- Client ID, Client Secret, and JWT Token from that app
- The RingCentral number your shop will use for outgoing messages
- Your Sandbox or Production choice made
Step 1: Open the RingCentral integration in TracsConnect
Section titled “Step 1: Open the RingCentral integration in TracsConnect”Sign in to your dashboard, open Setup > Connections, and find the RingCentral card under Available Connections.
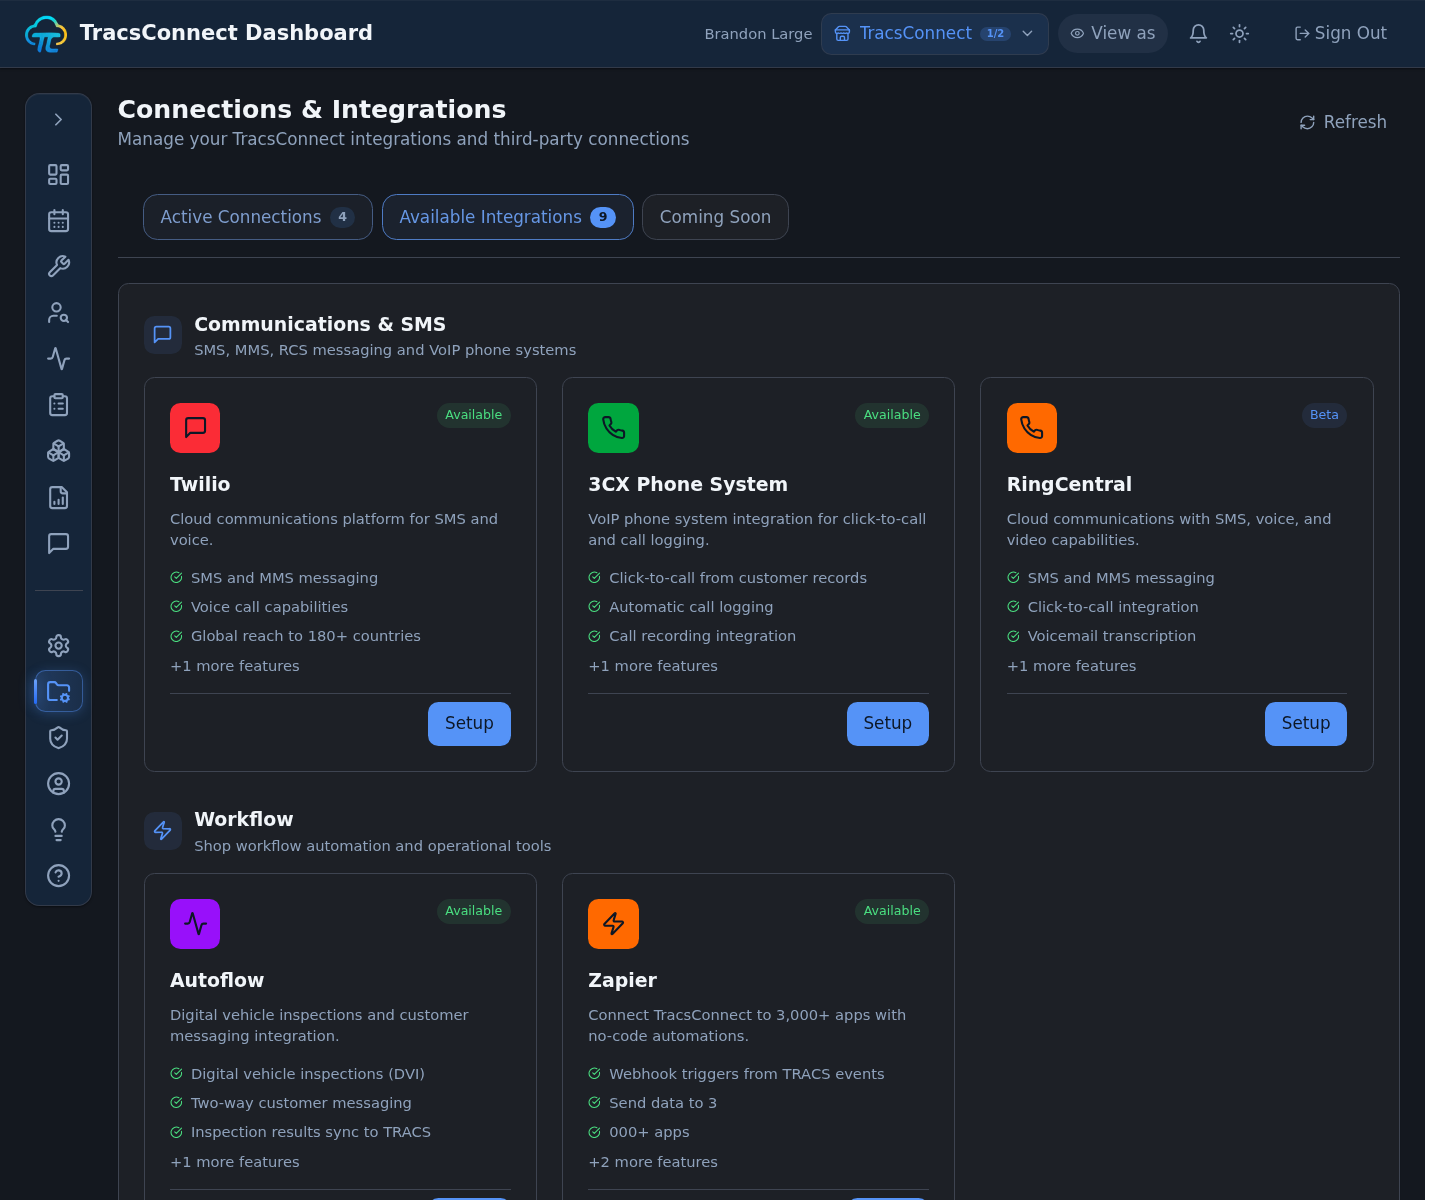
Click Setup on the RingCentral card. A setup window opens.
Step 2: Paste your RingCentral details
Section titled “Step 2: Paste your RingCentral details”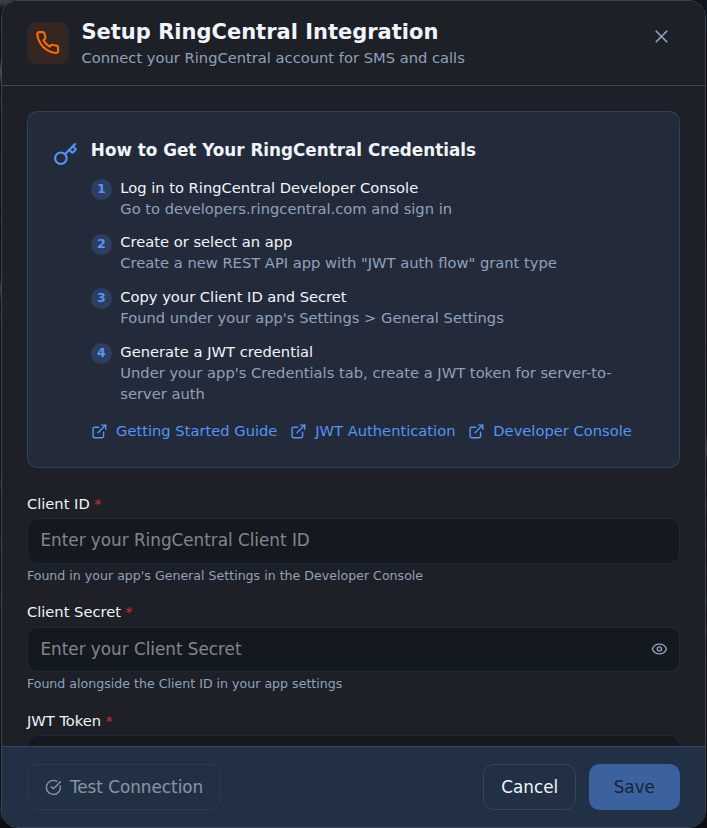
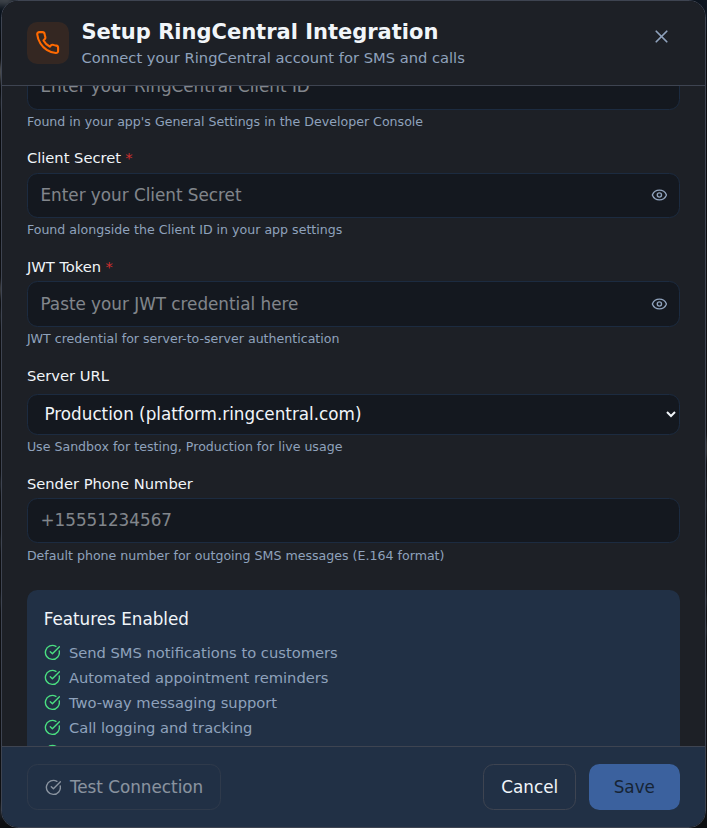
Paste the Client ID, Client Secret, and JWT Token into the matching fields. TracsConnect stores these securely and shows masked values if you come back to edit later.
Step 3: Choose the server
Section titled “Step 3: Choose the server”Choose Sandbox while you are testing. Choose Production when you are ready to connect the live RingCentral app your shop will use with customers.
Step 4: Add the sender phone number
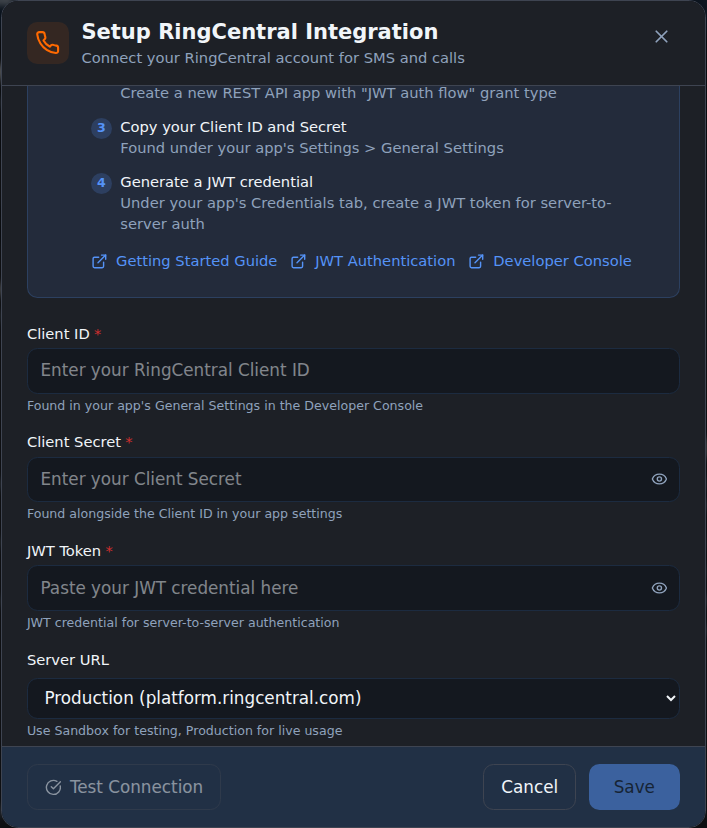
Section titled “Step 4: Add the sender phone number”Type the RingCentral number TracsConnect should send from, including the country code, like +15551234567. The number must belong to the authenticated RingCentral extension and be enabled for texting. The setup window can save without this field, but live messages cannot send until it is filled in.
Step 5: Test the connection
Section titled “Step 5: Test the connection”Click Test connection. TracsConnect signs in with the credentials and makes an account-information API call. This confirms authentication only; it does not send a text or validate the sender number.
If you see a red error, jump to Troubleshoot.
Step 6: Save
Section titled “Step 6: Save”Click Save at the bottom of the setup window. A successful connection test is recommended but is not required by the form.
What happens next
Section titled “What happens next”Before you turn on live messaging, confirm that the intended TracsConnect workflow is configured to use RingCentral, then send a controlled test to a staff-owned phone. A green connection test alone does not prove end-to-end delivery.
If your rollout needs inbound replies or call activity in TracsConnect, contact support. Those features require separately provisioned RingCentral webhook subscriptions; this setup window does not create them.